Quotation guides
How to prepare an electrical quotation from a floor plan
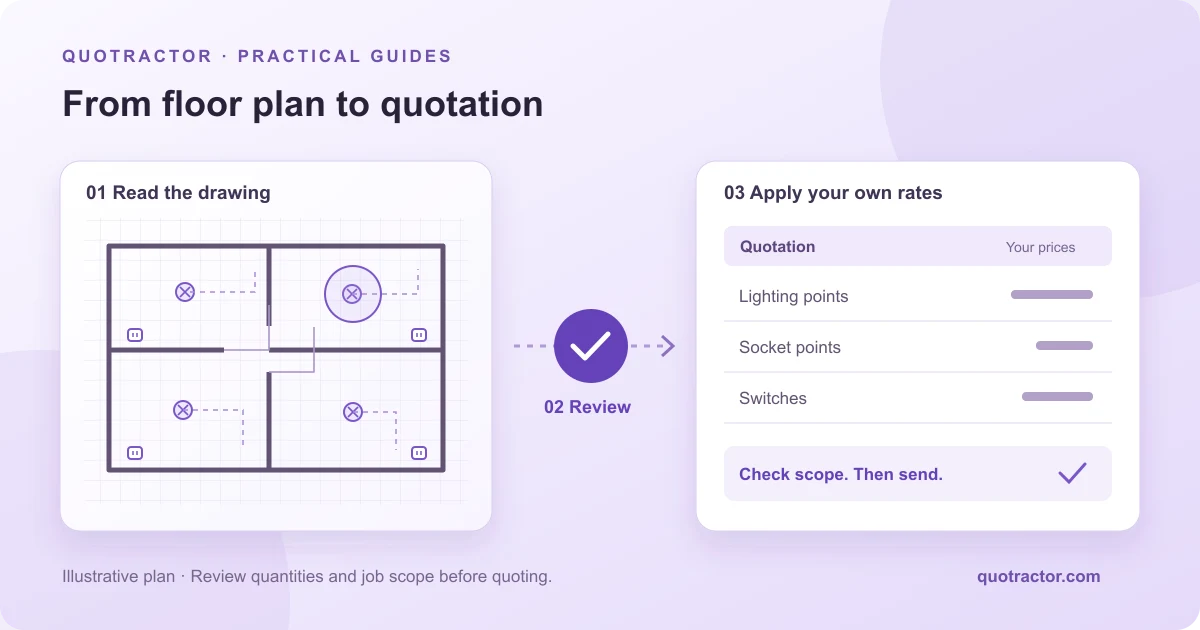
A floor plan gives you a starting point. To turn it into a useful electrical quotation, you still need to confirm the scope, check the quantities and decide what your price includes.
A faster count helps, but the quotation should be easy for you and your customer to check. Here is a practical way to prepare it.
1. Confirm which drawing you are pricing
Start with the project name, drawing number, revision and date. Check that you have the electrical layout and its symbol legend. A general floor plan may show the room layout without showing all the electrical work.
Ask which areas and systems are included. Confirm whether your quotation covers supply, installation, removal, testing or other work. Note any missing details before you start counting.
Keep a copy of the drawing you used. If the client sends a revised plan later, you can explain which version your original price covered.
2. Make the drawing readable
Use the original PDF where possible. If you only have paper, scan or photograph the complete sheet on a flat surface in good light. Avoid shadows, folded corners and glare. Keep the camera square to the paper rather than taking the picture at a steep angle.
Before uploading, zoom in on a small label and a symbol in the busiest area. You should be able to distinguish them. Check that the legend, notes and dimensions have not been cut off.
For a large sheet, ask for a clearer digital copy if the small details disappear. A drawing-quality rating can help identify readability problems; it cannot guarantee that every item will be counted correctly.
Using a desktop scanner? Adobe’s guide to scanning paper documents to PDF explains scanning and image-quality settings in Acrobat.
3. Agree what each point includes
Different quotations can use the word “point” differently. Do not assume the customer understands it the same way you do.
For example, if a drawing shows a twin socket, confirm whether your item is one complete twin-socket installation or two individual outlets. Follow the drawing legend and the agreed scope. There is no single counting convention that fits every job.
Write a short description for each item. Separate different fixture types or specifications when they need different rates. This makes your quotation clearer and reduces arguments about what was included.
4. Count one area at a time
Work through the drawing in a fixed order. Use rooms, zones or a simple grid so you know what you have checked. Keep separate counts for lights, sockets, switches and any other items in your scope.
If you use AI-assisted takeoff, review the result against the drawing before pricing it. Look for three things:
- Missed items, especially in crowded areas or faint parts of the scan.
- Extra items, such as symbols in the legend being treated as installed equipment.
- Uncertain items where a symbol, note or repeated detail could be interpreted more than one way.
AI-assisted counts are a starting point for review. They do not replace your responsibility to confirm the quantities and scope.
5. Check what a symbol count does not cover
Counting sockets and light points does not establish the cable route or cable length. Containment, supports, distribution equipment, access arrangements and other work may also need separate review.
Use appropriate drawings and confirmed site information for those items. If information is missing, state your assumption or exclusion clearly rather than hiding it inside a point rate.
If you measure distances from a PDF, verify the drawing scale first. For contractors using Revu, Bluebeam’s page-scale and calibration guide explains calibrating against a known length. This measurement step is separate from counting symbols.
This guide covers quotation preparation. It does not determine installation design, electrical safety requirements or local compliance obligations.
6. Apply your own rates
Use rates that reflect your company's work and the requirements of this job. Check material specifications, labour, access, removal, testing and any agreed allowances. Avoid copying a rate from another quotation without checking what it includes.
Here is a fictional example to show the arithmetic only. These are not recommended market rates or a complete installation price:
| Item | Quantity | Unit rate | Amount |
|---|---|---|---|
| Lighting point | 12 | S$60 | S$720 |
| Socket point | 8 | S$85 | S$680 |
| Switch | 5 | S$35 | S$175 |
| Illustrative point subtotal | S$1,575 |
This example excludes cable, containment, distribution equipment, access costs and other job-specific work. Its item descriptions would need fuller scope definitions in a real quotation. Apply any relevant taxes according to your business's actual obligations; do not assume this subtotal is the final amount payable.
7. Finish the quotation details
Before sending, check the company and customer names, project address where needed, quotation number, date and drawing revision. Make sure quantities, unit rates and totals match your reviewed worksheet.
State what is included, what is excluded, how long the quotation remains valid and the agreed payment terms. Label provisional items clearly. Save a version of the quotation you send so that later changes can be tracked.
Export the quotation and open the PDF or print preview yourself. Check that long descriptions, totals and terms are readable and nothing is cut off.
Use our pre-quotation checklist for a final check of the drawing, counts, rates and quotation details.
Where Quotractor fits
Quotractor’s electrical quotation workflow helps you scan or upload an electrical drawing, review AI-assisted point counts, apply your own rates and prepare a quotation with your company details. You still check the drawing, counts and job scope before sending the quotation.
Try your first drawing page free, then decide whether it suits your workflow. No card is needed for the first free page.